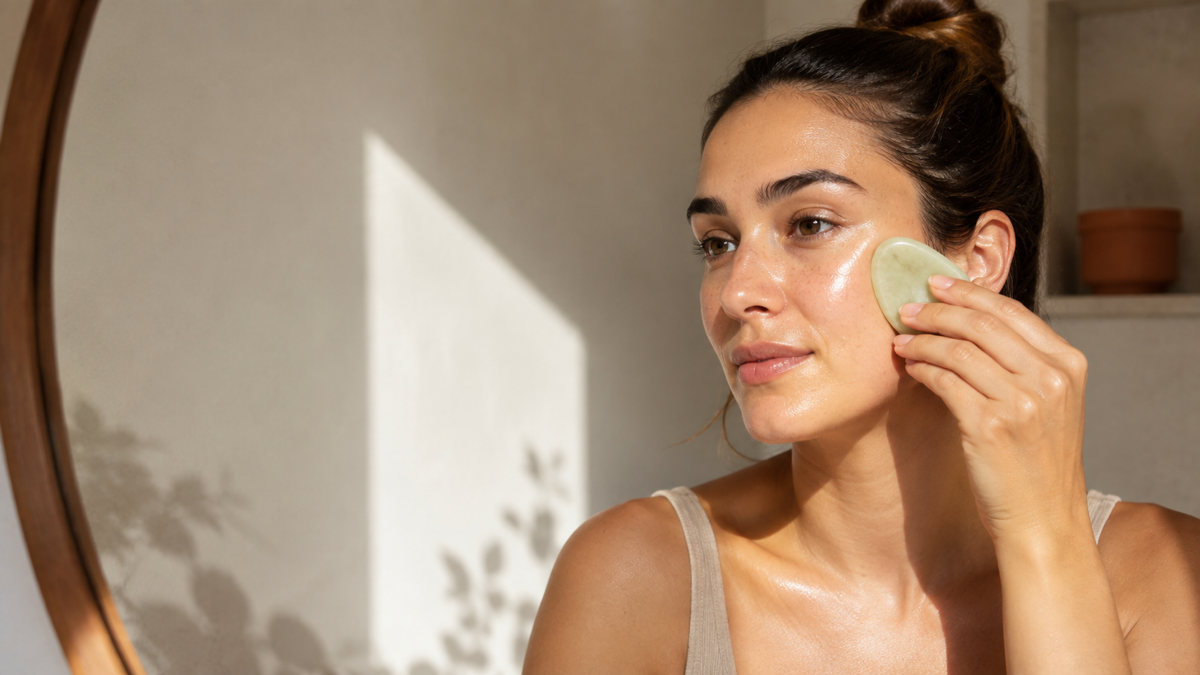
Gua sha for face massage can look more complicated than it is. You have a smooth little stone in one hand and three videos open in the other: one says to press firmly, another says the tool should barely touch you, and a third has turned the routine into a 25-minute choreography lesson.
You do not need to master all of that to try gua sha for your face. Start with a clean, undamaged tool, enough moisturizer or facial oil for easy glide, very light pressure, and slow strokes from the center of your face outward. A full routine can fit into five minutes, but your first session can be shorter while you learn the angle and pressure.
The tool should never scrape dry skin, leave bruises, or make you grit your teeth. Facial gua sha is a gentle form of tool-assisted massage. It may feel relaxing and can create temporary cosmetic changes, but it cannot permanently sculpt your face.
What is a gua sha facial massage?
Gua sha is a practice rooted in traditional Chinese medicine. It uses a smooth-edged tool to press and stroke the skin. Traditional body gua sha can use more pressure and may leave temporary red or purple marks. That is not the goal on your face.
A cosmetic gua sha facial massage uses a much lighter touch. You hold the broad surface of the tool close to the skin and glide it in one direction. Stone, steel, and resin tools can all work for massage; prioritize a smooth surface, an intact edge, and a comfortable grip.
The practical difference between using a tool and using your fingers is feedback. A tool can make it easier to notice your angle and pressure, but it can also tempt you to press harder. If you prefer the feel of your hands, these beginner facial massage techniques work without a tool.
What you need before you start
A beginner gua sha setup can stay simple:
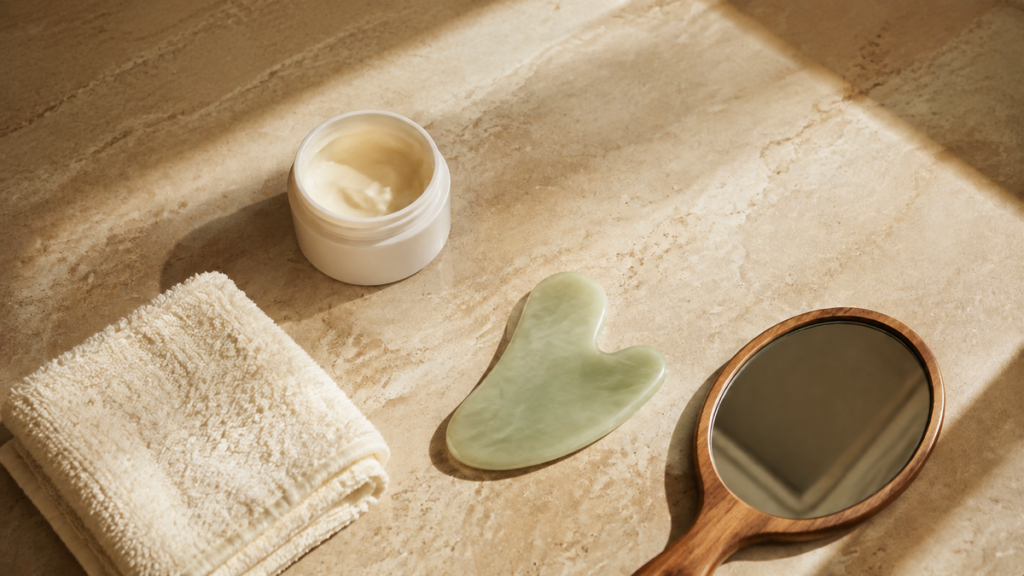
- A smooth, intact tool. Choose one that feels secure in your hand and has a long, rounded edge. Jade and rose quartz are popular, but the material matters less than a comfortable shape and an unchipped surface.
- A familiar product for slip. Use a moisturizer, serum, balm, or facial oil that your skin already tolerates. You need enough for the tool to glide without skipping, not a thick layer that runs into your eyes.
- Clean hands and a clean face. Remove makeup and anything gritty that could increase friction.
- A mirror and a few unhurried minutes. Good light helps you see whether your skin is being pulled or becoming irritated.
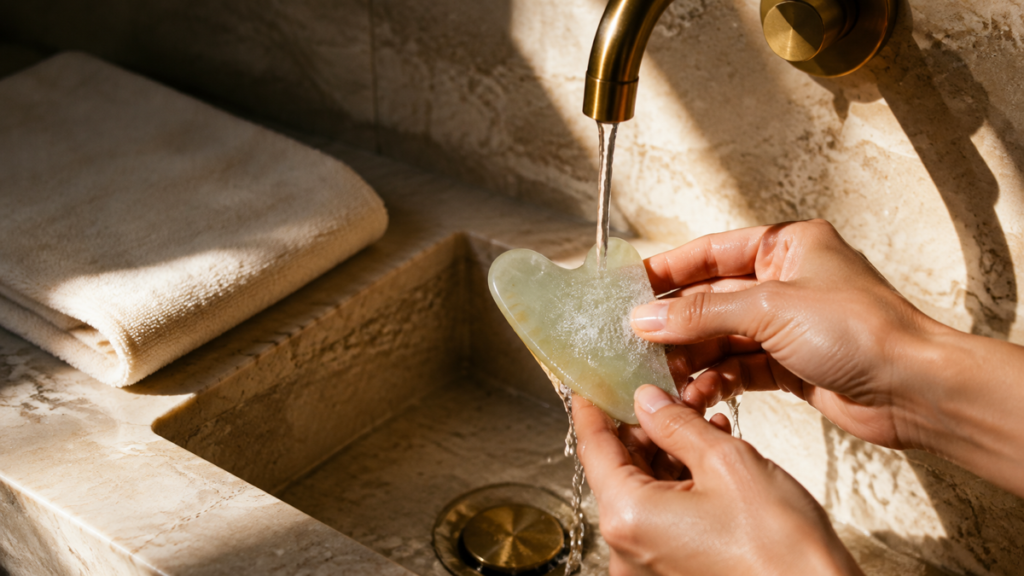
Wash the tool before its first use and after every session. Follow its care instructions; for many simple tools, mild soap and water followed by thorough drying are enough. Do not share it unless it can be cleaned appropriately between users. Replace a tool with a chipped, cracked, or rough edge.
How to hold a gua sha tool
Place the broad side almost flat against your face rather than pointing the thin edge straight into your skin. A low angle spreads the pressure across more surface area and helps the tool glide.
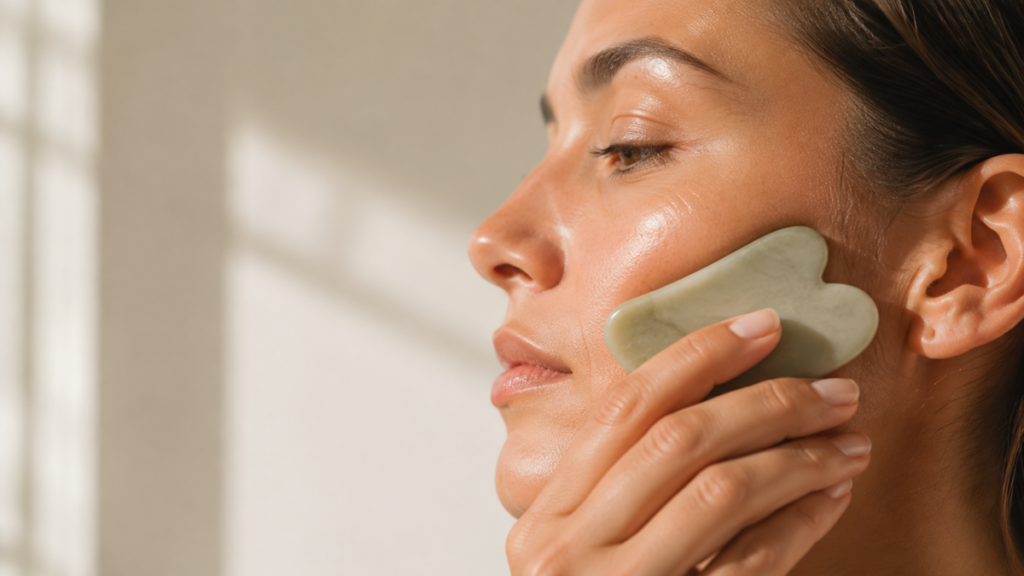
Hold the skin lightly with your free hand if that reduces tugging. Then move the tool slowly in one direction. Lift it off your face before returning to the starting point instead of scrubbing back and forth.
Pressure should feel light and comfortable, especially around the eyes. Your skin may feel slightly warm or look a little pink for a short time. Stop if you notice pain, intense redness, broken capillaries, or purple spots. More pressure does not create a better massage.
How to use gua sha for your face in five minutes
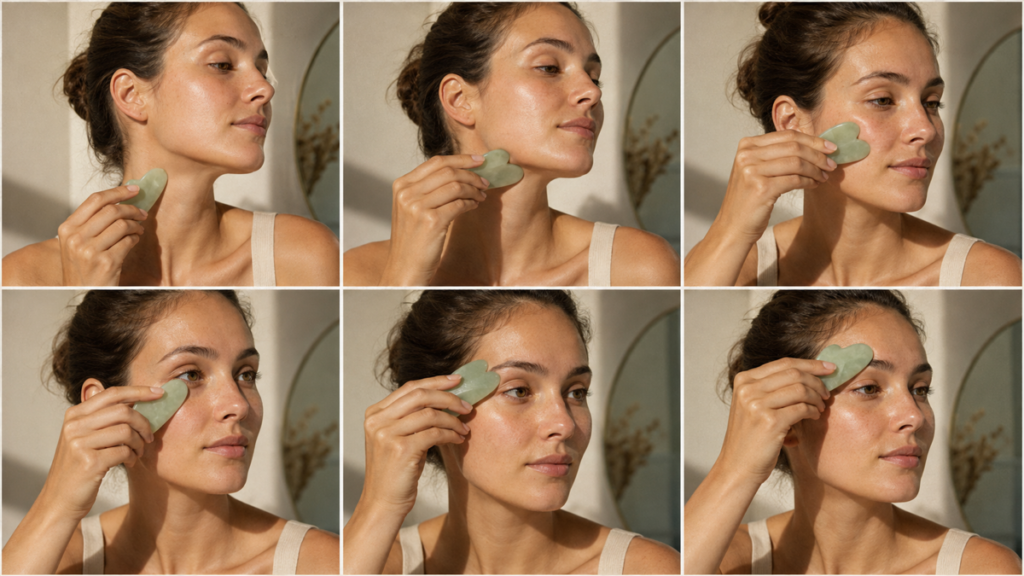
This routine keeps each movement easy to repeat. Use the long smooth edge of your tool unless another curve fits the area more comfortably. Your route is simple: prep the skin, move down the sides of the neck, then work outward along the jaw, cheeks, eye area, and forehead. Three light passes per area are enough for a first full routine.
1. Create enough glide
Apply your familiar moisturizer or facial oil across your face and along the sides of your neck. Test one short stroke on your cheek.
If the tool catches, skips, or folds the skin, add a little more product or stop. Drag is not part of the technique.
2. Start at the sides of your neck
Place the tool below one ear and make a gentle downward stroke along the side of the neck toward the collarbone. Repeat on the other side.
Stay on the soft sides of the neck. Avoid pressing into the front of the throat, enlarged or tender areas, and any unexplained lump. This step should feel like a light glide, not deep tissue work.
3. Glide along the jaw
Set the tool at the center of your chin. Glide outward along the jaw toward the earlobe. Keep the tool low and the pressure comfortable, then repeat on the other side.
If your tool has a notch, it can sit loosely around the jawline, but it should not pinch the bone.
4. Move across the cheeks
Start beside the nose, away from the nostril. Sweep the tool across the cheek toward the ear. Work one side at a time and support the skin near your nose if needed.
This is where facial massage with gua sha often becomes too enthusiastic. Keep the tool gliding over the skin rather than trying to push the cheek into a new position. One smooth pass beats five forceful ones.
5. Use barely-there pressure around the eyes
Place the tool on the orbital bone below the inner eye area, not close to the eyeball. Glide outward toward the temple with your lightest touch. Repeat above the eye by moving from the inner brow toward the temple.
Skip the eye area if the product might migrate into your eyes, your lids are irritated, or you cannot keep the pressure feather-light. Never press on the eyeball.
6. Finish across the forehead
Start between the brows and glide outward toward one temple. Move a little higher and repeat until you reach the upper forehead, then switch sides.
When you finish, your face should feel comfortable. Wash the tool, dry it fully, and put it somewhere clean. If your skin feels sore, hot, itchy, or tight later, wait for it to settle before considering another session.
What can facial gua sha realistically do?
The internet gives a small massage tool a very large résumé. The more useful approach is to separate what may happen from what has not been shown.
| Common claim | A realistic interpretation |
|---|---|
| “It boosts circulation” | Mechanical massage can temporarily change blood flow in the area. That does not prove better long-term skin health. |
| “It depuffs your face” | Gentle massage may make familiar mild puffiness look less noticeable for a while, but direct research on facial gua sha and puffiness is limited. |
| “It sculpts the jawline” | Temporary fluid shifts, product sheen, posture, and lighting can change how contours look. Gua sha does not remove facial fat or reshape bone. |
| “It lifts the face” | Current research does not establish that gua sha creates a permanent lift. |
| “It detoxes the skin” | Your lymphatic system already helps manage fluid and waste. Cosmetic gua sha has not been shown to remove toxins or boost immunity in healthy people. |
| “It relaxes facial tension” | Slow, comfortable massage may feel relaxing, but it is not the same as relieving a painful jaw or headache. |
A 2025 systematic review found 12 studies of facial exercise, myofunctional therapy, and manual massage involving 321 women. The studies used different methods, small samples, and limited long-term follow-up. Taken together, the review could not establish that these methods reliably rejuvenate the face.
So, facial gua sha can be a pleasant ritual with possible temporary effects. It is not an evidence-based facelift. For a closer look at what research does and does not support, read our guide to facial massage benefits.
How often should a beginner use gua sha?
There is no proven universal schedule for a face massage with gua sha, and a longer routine is not automatically better.
Start with two or three minutes once or twice in your first week. If your skin stays comfortable during the session and over the next day, you can keep that schedule or add time gradually. Sensitive or reactive skin may prefer less frequent use. A routine that leaves tenderness or lingering redness is too much, even if a video calls it “normal.”
Consistency is optional, not a test of discipline. If you miss three nights because work ran late, you do not need a catch-up session. Resume with the same light pressure when it suits you.
Common gua sha mistakes to avoid
- Holding the tool upright: A steep edge concentrates pressure and can scrape. Lower the tool so more of its broad surface touches your face.
- Working on dry skin: If the tool drags, stop and restore the slip. Do not keep pulling until your skin “gets used to it.”
- Pressing hard for a sharper jawline: Bruising is an injury response, not contour progress. Use less pressure and fewer passes.
- Scrubbing back and forth: Smooth, one-way strokes are easier on the skin. Lift the tool before you return to the start.
- Repeating every video in one session: More techniques mean more friction. Learn two or three areas first, notice how your skin responds, and build only if there is a reason.
- Treating swelling as a cosmetic problem: Familiar mild morning puffiness is different from new or unexplained swelling. If puffiness is your only goal, use a focused facial massage for puffiness routine rather than pushing harder.
When should you leave the tool in the drawer?
Skip it today if: your skin is sunburned, cut, infected, actively irritated, or painful. Do not glide the tool over cold sores, rashes, or inflamed breakouts.
Pause after a recent procedure or injury: if you have recently had a facial procedure, dental work, or a facial injury, follow the aftercare instructions you were given before restarting massage.
FAQ
Do you use gua sha before or after skin care?
Use it after gentle cleansing and after applying a familiar moisturizer, serum, balm, or facial oil that gives enough slip. You can continue the rest of your normal routine afterward. Avoid pairing your first gua sha session with a new product, because you will not know whether any irritation came from the product or the massage.
Can you use gua sha every day?
Some people tolerate a short daily routine, but daily use is not required and has not been proven better. Start less often, use light pressure, and let your skin response guide the frequency. Stop if you develop lingering redness, tenderness, dryness, or breakouts.
Does gua sha slim your face?
Gua sha does not remove fat, change bone, or cause weight loss. A temporary reduction in mild puffiness can make contours look a little different, but that is not permanent facial slimming.
Should you wash a gua sha tool after every use?
Yes. The tool picks up moisturizer, oil, and residue from your skin. Clean it after each session, dry it thoroughly, and store it on a clean surface. Check it for chips or roughness before it touches your face again.
Your simplest first session
For your first beginner gua sha session, skip the elaborate map. Clean the tool, add enough moisturizer for glide, and make three light outward passes across each cheek. That is enough to learn the angle, pressure, and pace without turning skin care into another item you can somehow fail.
If your skin feels calm later, try the full five-minute routine next time. Use the parts that fit your routine, skip the hype, and keep your expectations temporary and realistic.