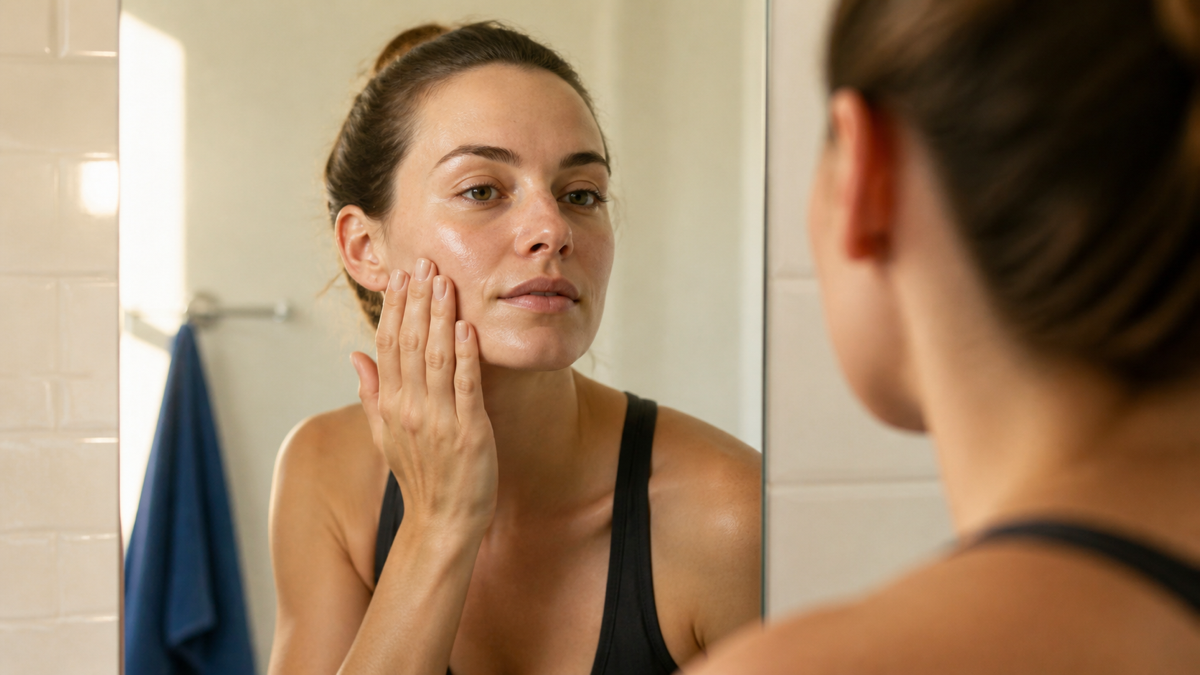
You have moisturizer on your fingertips, thirty conflicting videos in your head, and one basic question: should your hands move up, out, down, or in circles? No wonder a two-minute skin care extra suddenly feels like a practical exam.
The simple answer is that different facial massage techniques suit different goals. Gentle glides help spread product without tugging. Small circles can feel soothing over the jaw and temples. Light stretch-and-release movements are used for lymphatic-style touch. You do not need to combine every method or press hard enough to leave marks.
For a first try, wash your hands, cleanse your face, apply a familiar moisturizer for slip, and spend three to five minutes moving slowly. Keep the touch comfortable, use less pressure around the eyes, and stop if your skin hurts, burns, or becomes more irritated.
What can a facial massage realistically do?
A short massage can make your skin feel warm and may be a relaxing way to apply a product you already use. Gentle touch can also help you notice when you are clenching your jaw or holding tension across your brow. Those are reasonable goals for a home routine.
If mild morning puffiness is your main concern, use our facial massage for puffiness routine rather than making a general massage longer or firmer.
The cosmetic evidence is much less dramatic than social media makes it sound. In a small study, five minutes of facial rolling increased blood flow in the massaged cheek for at least 10 minutes. The study included only 12 people in this short-term test, used a roller rather than hands, and did not show a permanent change in skin.
A 2025 systematic review looked at 12 studies involving 321 women and found that research on facial exercises, massage, and related mechanical techniques was small and inconsistent. Some studies reported changes in specific areas, but the reviewers concluded that the evidence was not strong enough to confirm reliable facial rejuvenation. Long-term data were also limited.
A separate 2025 trial found changes in contour, muscle measurements, or skin elasticity after eight weeks of gua sha or roller use. Only 33 participants completed it, and both groups received an intervention. That means the study cannot tell us how either tool compares with doing no massage at all, and it does not prove that a brief hands-only routine will produce the same results.
So keep the promise modest. Facial massage does not remove facial fat, reshape bone, erase wrinkles, produce a permanent lift, or “flush toxins” from a healthy body. Any fresh or less puffy look may be subtle and temporary.

Before you begin: set up your skin and hands
Good preparation matters more than owning a special tool. Your hands give you direct feedback about pressure and are easy to clean, which makes them a sensible starting point for facial massage at home.
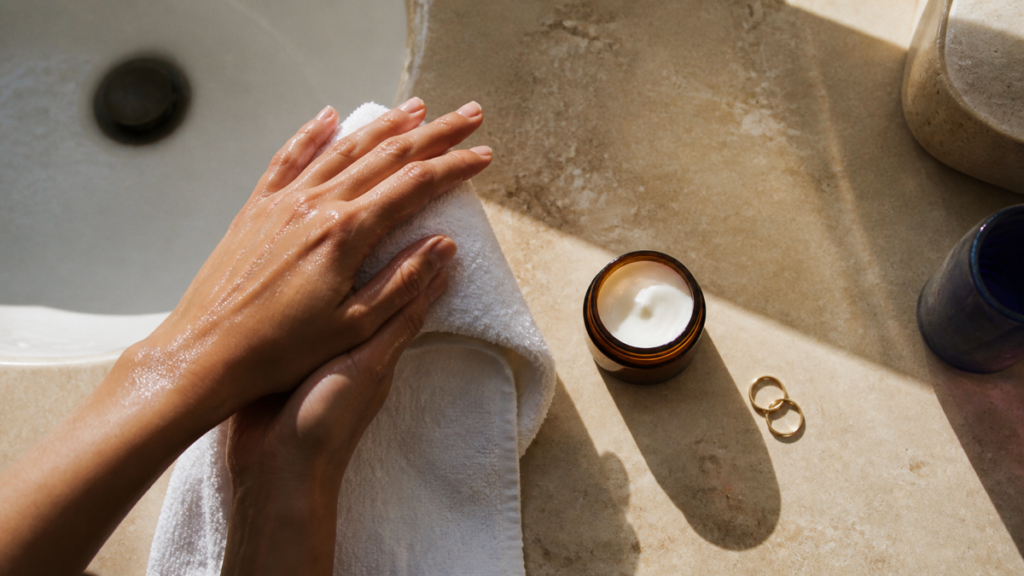
Use this quick checklist:
- Wash and dry your hands, including under your nails.
- Remove rings that could scratch your skin and keep nails smooth.
- Cleanse your face gently, then pat it dry.
- Apply a small amount of a plain moisturizer, balm, or facial oil your skin already tolerates.
- Add a little more product if your fingers drag instead of glide.
- Sit comfortably and let your shoulders drop away from your ears.
If you are acne-prone, choose a product labeled non-comedogenic, which means it is designed not to clog pores. Do not massage directly over a sore, inflamed breakout or try to squeeze it as you go. If you have rosacea, the American Academy of Dermatology advises avoiding massage because friction can trigger irritation.
Do not test a new active product and a new massage technique in the same session. If your skin reacts, you will not know whether the product, the friction, or both caused it.
How much pressure should you use?
Start lighter than you think. Your fingers should move the skin gently without digging, scraping, or making you hold your breath. Around the eyes, use very light contact and stay on the orbital bone; never press on the eyeball or a swollen eyelid.
Pressure also depends on the method:
- Gliding and tapping: light, comfortable contact.
- Small circles over the jaw or temples: enough to feel the area under your fingers, never enough to cause pain.
- Lymphatic-style touch: very light stretch and release of the skin. If you feel the muscles underneath, you are pressing too hard.
Strong redness, soreness, broken capillaries, or bruising are not signs that a technique is working better. They are signs to stop.
Five facial massage techniques to know
These five movements give you a small, useful toolkit. Choose one or two based on how your skin feels instead of turning every routine into a complicated choreography.
1. Gentle gliding strokes
Place the flats of two or three fingers on your skin and move them in one smooth line. Keep your fingers relaxed and maintain even contact rather than pulling from the fingertips.
Use glides across the cheeks, jawline, and forehead. They work well at the beginning and end of a routine and can spread moisturizer without rubbing one patch repeatedly. In professional massage, you may see this type of stroke called effleurage.
Try three slow passes from the center of your chin toward each ear, then from beside your nose across the cheek. Lift your hand to reset instead of sawing back and forth.
2. Small, slow circles
Rest two fingertips on a comfortable area and draw a tiny circle without sliding over a large patch of skin. Move to the next spot after two or three circles.

This technique can feel good over the fleshy part of the cheeks, the temples, or the jaw muscles in front of the ears. Keep your teeth slightly apart while working around the jaw. Avoid grinding into the jaw joint, pressing on a painful tooth, or treating persistent facial pain as simple tension.
If circles create drag, add more moisturizer or return to a lighter glide.
3. Gentle hold and release
Place your fingertips or palms on an area, hold with soft contact for one slow breath, then release fully. The aim is a quiet pause, not a painful “pressure point.”
Try a broad hold over each cheek or place your fingertips lightly at the temples. This is a useful option when repeated rubbing feels like too much. Do not press on the eyes, front of the throat, inflamed sinuses, or an area that is numb or injured.
4. Soft fingertip tapping
Alternate your fingertips in a light, rain-like tapping pattern. Keep the movement small and let your fingers bounce rather than strike.
Tap across the cheeks and forehead for 10 to 15 seconds. Use barely-there contact around the orbital bone and skip the eyelids. Tapping is optional; it should feel pleasant, not tingly, sharp, or irritating.
This is a very soft tapping movement; keep it slow and comfortable. The at-home version here is intentionally soft. You do not need the speed or force used in body massage.
5. Light stretch and release
Place flat fingers on the skin, stretch it gently in one direction, then let it return before repeating. This differs from a sliding stroke because your fingers stay connected to the same small patch of skin.
Clinical self-lymphatic massage uses this kind of very light, rhythmic movement. A cosmetic routine is not the same as treatment for lymphedema, and a healthy lymphatic system does not need a “detox.” If your goal is mild, familiar puffiness, the usual pattern is from the center of the face toward the ears, followed by light movements down the sides of the neck toward the collarbones.
For a closer look at pressure, preparation, and sequence, read our lymphatic facial massage guide.
Do not copy a generic drainage sequence if you have diagnosed lymphedema, lymph nodes that were removed or treated with radiation, a blood clot, active infection, heart or kidney disease, or recent head or neck surgery. Ask your clinical team for a sequence designed for your situation.
How to massage your face in five minutes
Ready to put the movements together? These face massage steps use your hands only and keep the routine simple. Complete each step on both sides before moving on.
1. Check your glide — 30 seconds
Spread your familiar moisturizer between clean fingertips. Make one slow pass across each cheek. If the skin folds or your fingers skip, add a small amount of product. Extra friction will not make the routine more useful.
2. Relax the jaw — 45 seconds
Let your lips meet while keeping your teeth slightly apart. Place two fingertips over the fleshy jaw muscle in front of each ear and make three small, slow circles. Move toward the middle of the jaw, staying away from any painful area.
Finish with one gentle glide from the center of the chin toward each ear. Stop if the movement causes jaw pain, tooth pain, clicking that worries you, or a headache.
3. Glide across the cheeks — 60 seconds
Place your fingertips beside the corners of your mouth and move outward toward your ears. Repeat from beside the nose across the middle of the cheeks. Use three slow passes at each level.
Keep your fingers broad and relaxed. You are moving over the skin, not trying to push cheek tissue into a new position.
4. Use feather-light contact around the eyes — 45 seconds
With your ring fingers, trace along the brow bone from the inner brow toward the temples. Then use tiny taps along the bone beneath the eyes, moving from the inner area outward.
Do not massage the eyeball or a swollen, infected, recently treated, or irritated eyelid. If the eye area is your most sensitive spot, skip this step completely.
5. Smooth the forehead and pause at the temples — 60 seconds
Glide from the center of your forehead toward each temple. Repeat at three levels, moving from just above the brows toward the hairline. Finish with one soft hold at the temples for a comfortable breath.
Avoid dragging the skin upward again and again in an attempt to “train” it to lift. Skin does not need a tug-of-war.
6. Finish along the sides of the neck — 45 seconds
Place flat fingers below your ears and move gently down the sides of your neck toward the collarbones. Keep away from the front of your throat and do not press on a pulse.

Take your hands away and check how your skin feels. Comfortable warmth is different from burning, stinging, numbness, or marked redness. If something feels wrong, rinse off the product if needed and stop for the day.
Which direction should you massage your face?
There is no single “correct” direction for every goal. Direction matters most when you are following a clinician-taught lymphatic drainage plan. For a simple cosmetic routine, moving from the center of the face outward gives your hands a clear pattern and reduces back-and-forth friction.
The popular rule that every stroke must move upward to prevent sagging is not supported by strong evidence. An upward glide can feel comfortable, but it cannot permanently reposition skin or change your anatomy. Choose smooth movements, comfortable pressure, and a consistent sequence over dramatic angles.
Face massage tips that prevent common mistakes
Do not work on dry skin if your fingers drag
Repeated pulling can irritate the surface. Add a little more of a familiar product or switch to a still hold. The goal is comfortable contact, not maximum friction.
Do not use pain as a progress marker
Deep pressure is not necessary for a useful home routine. If any of these symptoms appear, stop the massage.
Do not massage every skin flare
Pause over cuts, cold sores, sunburn, rashes, infections, and inflamed breakouts. If your skin condition has its own care plan, follow that instead. New, one-sided, painful, hot, or worsening facial swelling needs medical assessment rather than a beauty routine. Sudden swelling of the lips, mouth, tongue, or throat, or trouble breathing or swallowing, needs emergency help.

Do not ignore procedure aftercare
Massage timing differs after injections, peels, lasers, surgery, and other treatments. Follow the instructions from the professional who performed your procedure. For example, Cleveland Clinic advises waiting at least 24 hours before a facial or massage after Botox, and longer if bruising or swelling remains. That timing does not automatically apply to every other treatment.
Do not assume a tool is an upgrade
A roller or gua sha tool changes how pressure feels, but it is not required. If you add one later, clean it before and after use, check for chips or sharp edges, and start lightly. Hands are the simplest place to start when you are still learning what comfortable pressure feels like.
How often should you do facial massage?
There is no research-backed schedule for a general cosmetic routine. Start with one short session and notice how your skin feels immediately afterward and later that day. If it stays calm, repeat when it suits you rather than forcing a daily streak.
Longer is not automatically better. Three comfortable minutes are more useful than 20 minutes of rubbing that leaves your skin sore. Reduce the time, pressure, or frequency if you notice dryness, sensitivity, lingering redness, or new breakouts.
FAQ
What is the best facial massage technique for a beginner?
Gentle gliding is the simplest place to start. It is easy to control, works with moisturizer, and lets you learn pressure without adding a tool. Add small circles on the jaw or temples only if they feel comfortable.
Can facial massage reduce wrinkles?
Current evidence does not support promising wrinkle removal or a lasting lift. Massage may create temporary warmth or a rested look, but it does not replace proven skin care or professional treatment.
Should you massage before or after skin care?
Massage clean skin after applying enough of a familiar moisturizer, balm, or oil for comfortable glide. Continue with the rest of your routine afterward. During the day, finish with sunscreen rather than using massage as a substitute for it.
Can facial massage help a painful jaw?
Gentle circles may feel soothing when you have ordinary muscle tightness, but jaw pain has many causes. Stop if massage hurts. See a dentist or qualified health professional for persistent pain, locking, significant clicking, swelling, tooth symptoms, or difficulty opening your mouth.
Your next step
Tonight, try one glide across each cheek and three slow circles over the jaw with clean hands and a moisturizer you already trust. That is enough to learn from. If your skin feels calm, build the full five-minute routine later. If it protests, listen early and leave the complicated choreography to your saved videos.